Remove unwanted objects from picture. How to use Content-Aware Fill in Photoshop CC 2020
Photoshop's Content-Aware Fill command was designed to make removing unwanted objects or distracting elements from your photos as easy as possible. Simply by drawing a selection around an area, Photoshop can instantly replace it with new image detail from surrounding areas.
Adobe first added Content-Aware Fill back in Photoshop CS5 as a new option in the Fill dialog box. But in Photoshop CC 2019, Content-Aware Fill was given its own separate workspace. And in Photoshop CC 2020, Content-Aware Fill has been improved even further.
The workspace adds powerful features that offer complete control over which "good" parts of the image are used to replace the unwanted areas. We can resize our initial selection, rotate, scale and mirror content, preview the results, and more! And we can apply our fills non-destructively so the original image is never harmed.
In this tutorial, I walk you through every feature of Content-Aware Fill, including the new features in CC 2020, and I show you step-by-step how to get great results. To follow along, you'll need Photoshop CC 2020 and you'll want to make sure that your copy is up to date.
Removing unwanted objects with Content-Aware Fill
The document setup
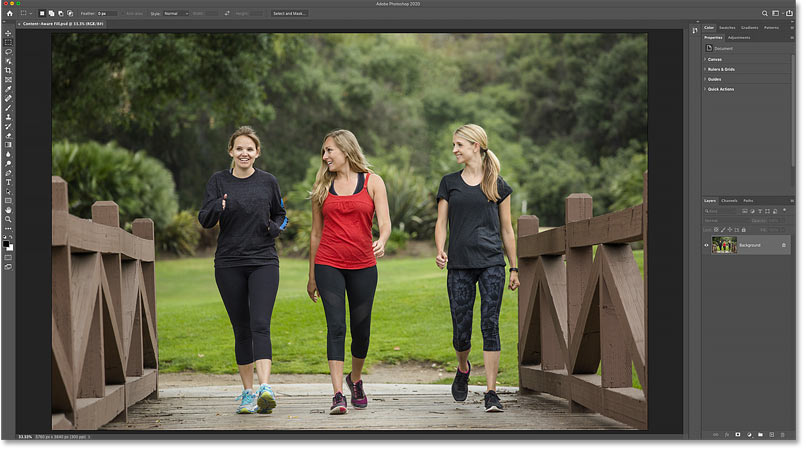
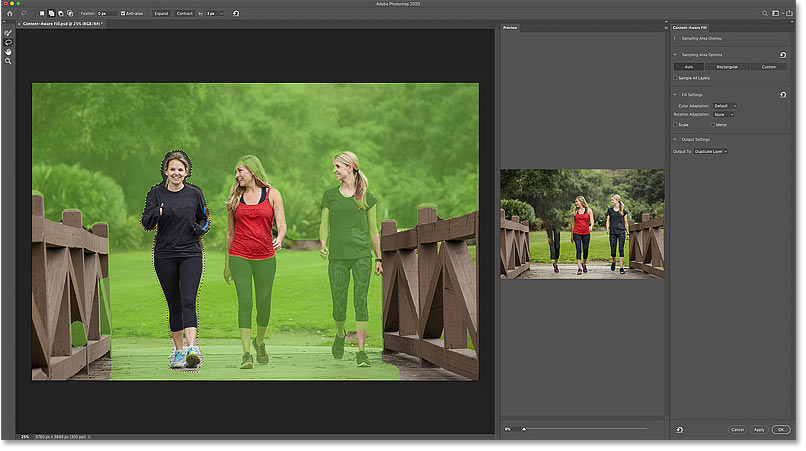
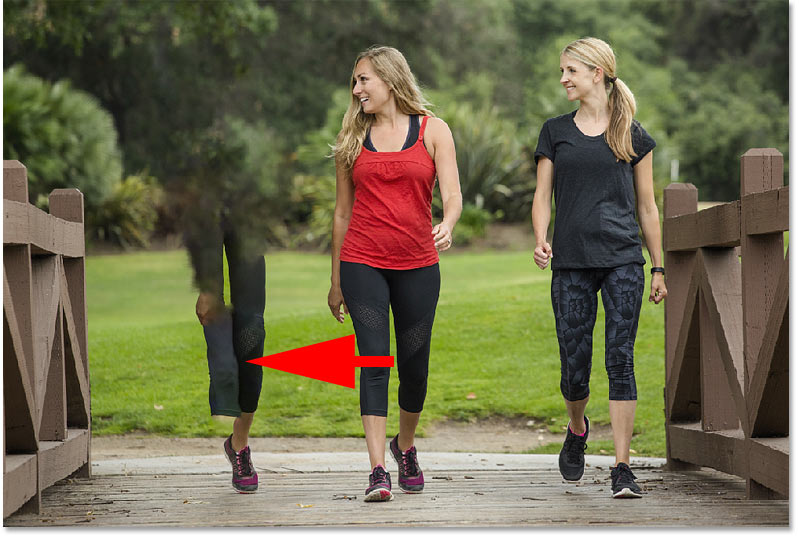
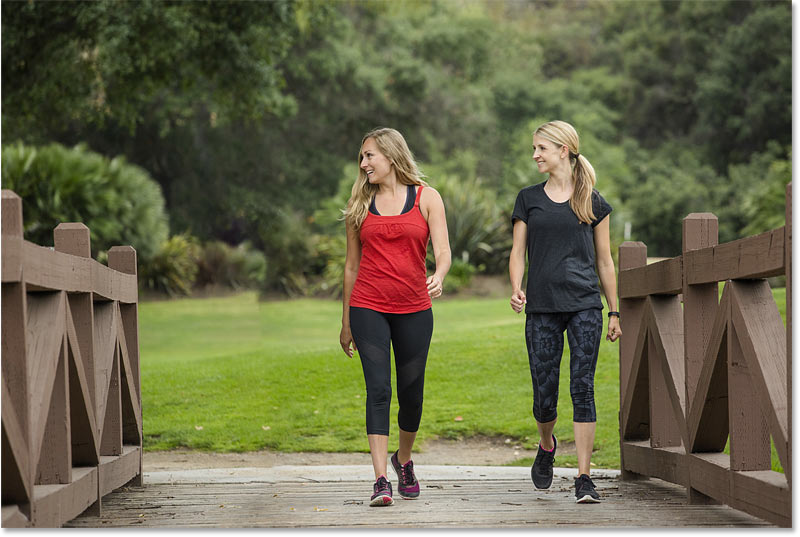
In this image that I downloaded from Adobe Stock, I'll use Content-Aware Fill to remove the woman on the left:
Draw a selection around the unwanted object
Start by drawing a selection around the object (or person) you want to remove.
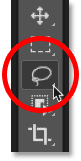
The best selection tool for the job is the Lasso Tool, so I'll grab it from the toolbar:
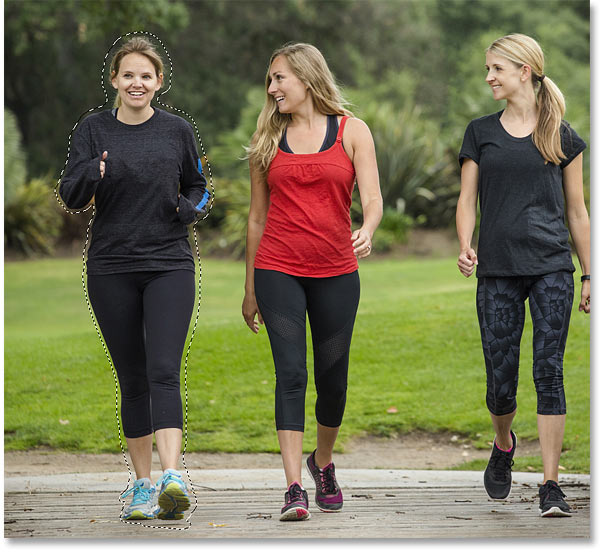
Then I'll draw a rough selection outline around the woman on the left. For best results, stay close to the person or object but also keep a bit of space around them. This gives Photoshop some surrounding image detail to work with:
Related: How to use the new Object Selection Tool in Photoshop CC 2020
Open Content-Aware Fill
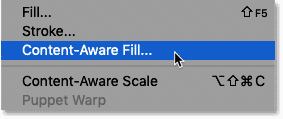
With the selection in place, go up to the Edit menu in the Menu Bar and choose Content-Aware Fill:
The Content-Aware Fill workspace
We'll learn all about this workspace as we go along. But let's take a quick tour:
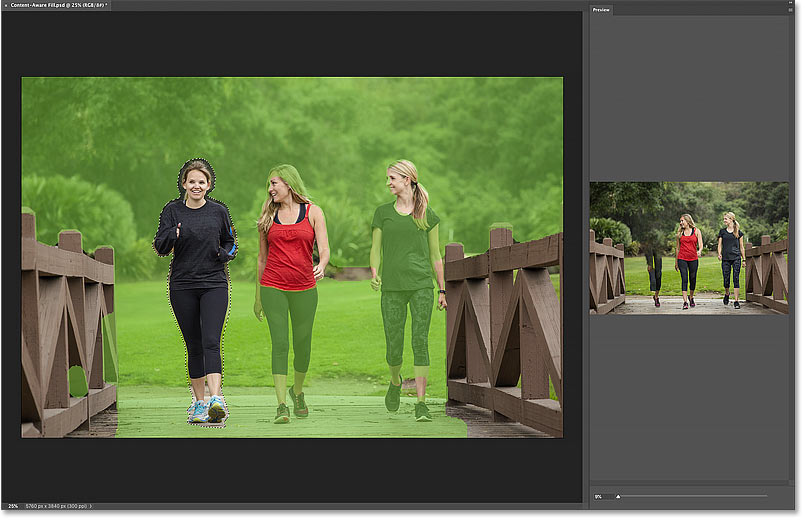
The work area and Preview panel
The center of the Content-Aware Fill workspace is divided vertically into two sections. On the left is the work area and on the right is the Preview panel.
The work area is where we can make adjustments to our initial selection around the unwanted object, and where we tell Photoshop which areas of the image can be used to fill in the selection. And the Preview panel lets us preview the results before we commit our changes.
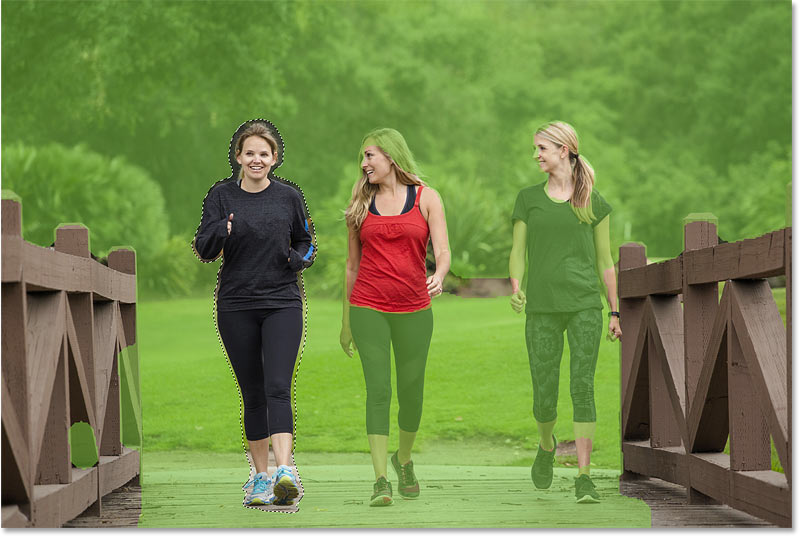
In the work area, notice the green overlay that covers much of the image. This is the sampling area overlay and it represents the area that Photoshop can sample image detail from. Adjusting this sampling area is the key to getting great results from Content-Aware Fill:
How to adjust the Preview panel size
If the Preview panel is too small, you can make it larger by dragging the left side of the Preview panel towards the left:

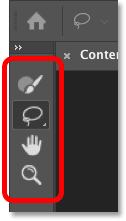
The tools and toolbar
Just like Photoshop itself, the Content-Aware Fill workspace includes a toolbar along the left. And inside the toolbar are four main tools to choose from, plus one hidden tool that we'll look at in a moment:
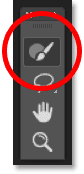
The Sampling Brush Tool
At the top of the toolbar is the Sampling Brush Tool. This tool is used to adjust the size of the sampling area. The current sampling area is represented by the green overlay.
We can paint with the Sampling Brush Tool to add more of the image to the sampling area, or to remove areas from it:
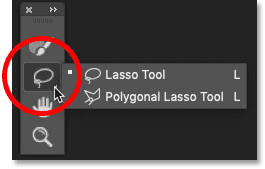
The Lasso Tools
Below the Sampling Brush Tool is the Lasso Tool. And if you click and hold on the Lasso Tool, you'll find the Polygonal Lasso Tool hiding behind it, bringing the total number of tools in the toolbar to five.
The Lasso tools are used to refine the initial selection around the unwanted object, or to select and remove other unwanted areas:
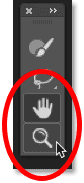
The Hand Tool and Zoom Tool
Next we have the Hand Tool, used to pan and scroll the image when zoomed in. And below the Hand Tool is the Zoom Tool for zooming in and out of the image.
The Hand Tool and the Zoom Tool can be used in both the work area and the Preview panel:
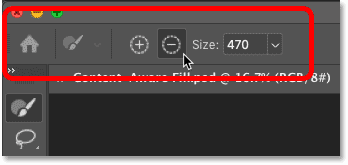
The Options Bar
Above the work area is the Options Bar. This is where we select various options for whichever tool in the toolbar is currently active:
The Content-Aware Fill panel
And finally, to the right of the Preview panel is the Content-Aware Fill panel. The options in this panel are divided into four main sections, one of which is brand new as of Photoshop CC 2020:
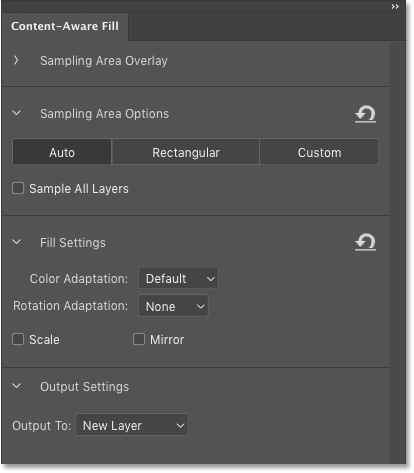
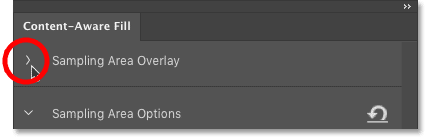
The Sampling Area Overlay options
The first section at the top is where we find the Sampling Area Overlay options. If this (or any other) section is closed, click the arrow next to the section's name to expand it:
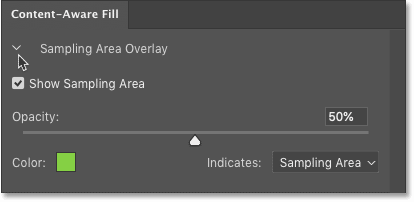
These options control the appearance of the sampling area overlay in the work area.
- Use the Show Sampling Area checkbox to toggle the overlay on and off.
- Drag the Opacity slider to adjust the transparency of the overlay. The default opacity is 50%.
- Click the color swatch to change the color of the overlay. The default color is green.
- Use the Indicates option to change whether the overlay represents the sampling area (default) or the excluded area.
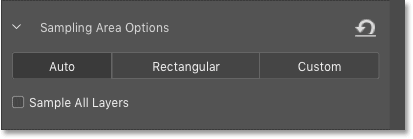
The Sampling Area options
Next we have the Sampling Area Options. This section is brand new as of Photoshop CC 2020 and it controls how Photoshop chooses the initial sampling area.
- Auto: The default setting. Photoshop analyzes the image and sets the sampling area automatically. This is the most powerful option and is almost always what you want.
- Rectangular: Photoshop sets a simple rectangular area around the selection as the sampling area.
- Custom: This option does not set a sampling area at all. Instead, it's up to you to choose the sampling area by painting over the image with the Sampling Brush Tool.
- Sample All Layers: Also new as of Photoshop CC 2020. If your document contains multiple layers, turn this option on to let Photoshop sample image detail from all visible layers.
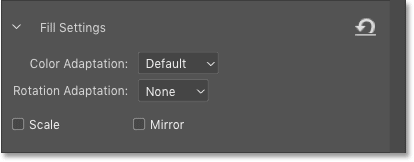
Fill Settings
The Fill Settings are powerful options that, depending on your image, can greatly improve the Content-Aware Fill results. We'll look more closely at these options later, but here's a quick summary:
- Color Adaptation adjusts the brightness and contrast of the filled area to better match its surroundings. This can be very useful when removing objects in areas with gradual color or brightness transitions.
- Rotation Adaptation allows Photoshop to rotate the content to better match the angle and direction. Great for curved or rotated patterns.
- Scale lets Photoshop adjust the size of the content when removing objects in perspective.
- And Mirror will flip the contents horizontally, perfect for symmetrical images or patterns.
Output Settings
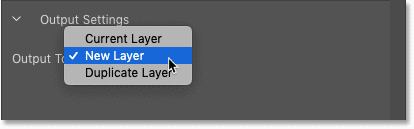
And the final section in the Content-Aware Fill panel is Output Settings. This is where we decide how we want to output the results. There are three choices:
- New Layer (the default setting) will output just the filled area itself to its own layer.
- Duplicate Layer will place a copy of the entire image, including the filled area, on a new layer.
- And Current Layer will output the result onto the same layer you're working on. This creates a destructive edit and is not recommended.
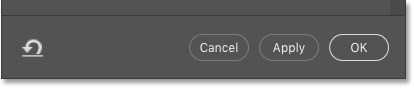
The Cancel, Apply and OK options
Finally, in the bottom right of the Content-Aware Fill workspace are the Cancel, Apply and OK options.
- Cancel will close Content-Aware Fill and discard any and all edits.
- Apply is new as of Photoshop CC 2020. Choose Apply to commit the current fill but keep the workspace open so you can continue removing more unwanted objects.
- OK will commit your edits and close Content-Aware Fill.
So now that we've taken a tour of the Content-Aware Fill workspace, let's get back to the image.
Resizing the sampling area with the Sampling Brush Tool
In the Preview panel, we see that my initial results with Content-Aware Fill are not great. Photoshop is using detail from the woman in the center to fill in my selection on the left:
Inspecting the sampling area
And in the work area, we see the problem. Too much of the image is included in the sampling area.
The green overlay is covering much of the woman in the center, and most of the woman on the left. But none of this detail is needed to fill in the selection. So I'll remove it from the sampling area using the Sampling Brush Tool:
Selecting the Sampling Brush Tool
Start by selecting the Sampling Brush Tool from the toolbar:
Changing the brush size
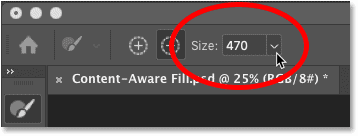
Then with the Sampling Brush Tool active, change the size of your brush using the Size option in the Options Bar.
Or you can change your brush size using the left and right bracket keys ( [ and ] ) on your keyboard. The left bracket key makes the brush smaller and the right bracket key makes it larger:
Related: Discover Photoshop's hidden Brush Tool tips and tricks!
Painting away image detail from the sampling area
Then simply paint over an area to remove it from the sampling area. I'll paint over the woman in the center. Notice that as I paint, the green overlay disappears:
And I'll also paint over the woman on the right:

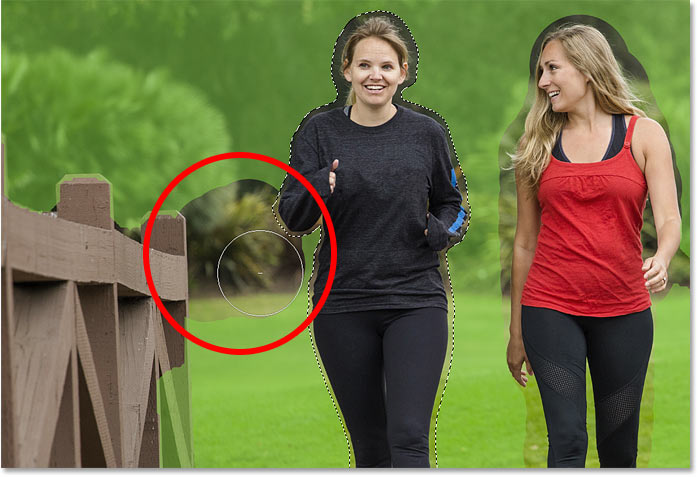
Previewing the results
Back in the Preview panel, the results are already looking much better. After removing the other two people in the photo from the sampling area, none of that detail is being used to fill the selection:
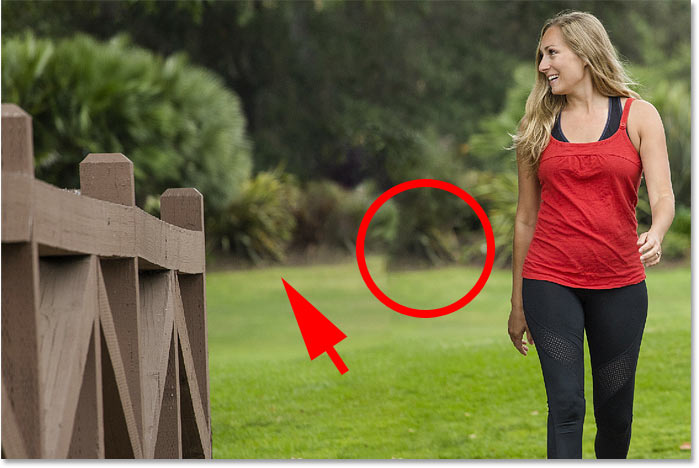
But now we have a new problem with some obvious repeating detail:
Removing more of the sampling area
So with the Sampling Brush Tool still active, I'll paint over the detail that's repeating to remove it from the sampling area:
How to undo a mistake
Unfortunately, sometimes trying to fix a problem can actually make it worse.
In my case, Photoshop replaced the repeating detail with a blob of random pixels:

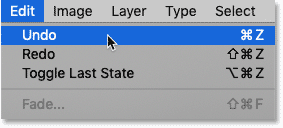
If you or Photoshop make a mistake, simply undo your last step by going up to the Edit menu in the Menu Bar and choosing Undo. Or press Ctrl+Z (Win) / Command+Z (Mac) on your keyboard. Press the keys repeatedly to undo multiple steps.
To redo a step, press Shift+Ctrl+Z (Win) / Shift+Command+Z (Mac):
And then try again, either by painting over the same area with the Sampling Brush Tool or by trying a different area.
This time, instead of painting over the exact same image detail, I'll paint more to the left of it. I'll also try removing the top of that wooden post to see if that makes a difference:
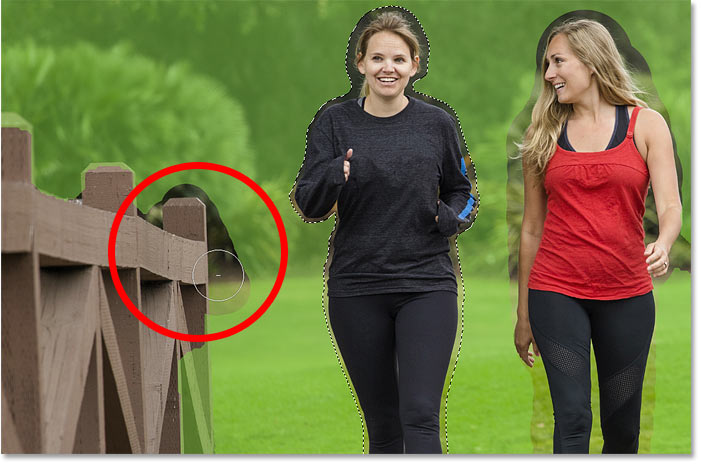
And sure enough, the new result looks much better. It's still not perfect, but there's nothing a couple of minutes with the Clone Stamp Tool can't fix:

How to add to the sampling area with the Sampling Brush Tool
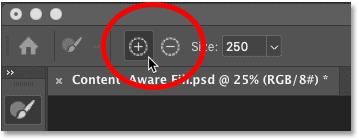
By default, the Sampling Brush Tool will remove any parts of the image you paint over from the sampling area. To add to the sampling area, press and hold the Alt (Win) / Option (Mac) key on your keyboard. The minus sign (-) in the center of the brush cursor will change to a plus sign (+). Paint over the areas you want to add, and then release the Alt / Option key.
You can also switch between Add and Remove mode from the Options Bar. But since you'll spend most of your time removing areas from the overlay, the keyboard shortcut is faster:
The progress indicators in the Preview panel
After a change is made in the work area, the Preview panel can take time to fully update, especially with larger images. So while you're waiting, you'll see two progress icons in the lower right corner of the Preview panel.
The first icon that appears (little circles rotating around the center) means that Photoshop is working on your changes. And after a few moments, a warning icon will appear beside it. The warning icon means that you are currently seeing a low resolution preview while Photoshop continues to work on the high resolution version. Both icons disappear when the high resolution version is displayed:
![]()

